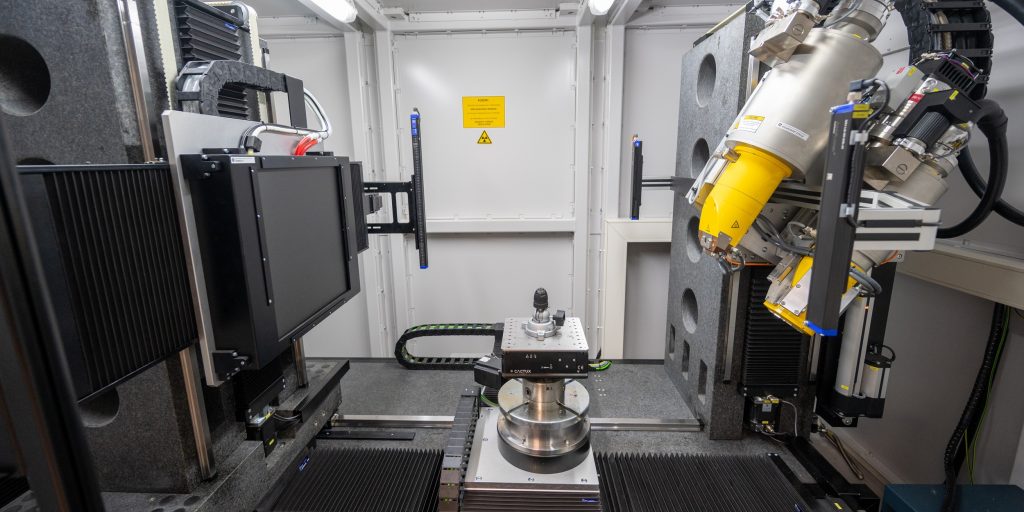
High-resolution microfocus system with protective cabinet for 2D and 3D computed tomography for non-destructive X-ray inspection of highly absorbent materials, for example, the field of geology, archaeology, metallurgy, biology, material sciences.
Technical parameters:
High-resolution micro-CT v|tome|x L 240
- 240 kV open unipolar X-ray tube
- 180 kV high-power nanofocus tube;
- Granite based 7-axes manipulation system ensures stability and highest precision even large samples;
- Large-scale GE DXR detector ensures high image quality;
- Maximal resolution < 1µm, max. voxel resolution < 2 µm;
- Max. object size : h = 1300 mm, φ = 800 mm, w = 50 kg;
Geometry of industrial micro-CT, as opposed to a clinical, is based on rotation of the object between fixed X-ray tube and fixed detector and on X-ray energy > 12.4 keV. 240 kV X-ray tube is particularly suitable for massive, radioscopic denser and larger samples; as consequence, a resolution detail decreases. 180 kV X-ray tube provides detailed resolution up to 1μm for small objects. These properties suggest an application of micro-CT in petrology for spatial distribution of minerals in the rock, porosity inspection, rock structure and texture, (e.g. in geology of ore deposits, petroleum geology, hydrogeology), reconstruction of rare fossils, morphology of minerals, control, measurement and comparison of nominal and actual values of industrial products. As an example, an analysis demonstrates a size of inclusions and voids, their distribution and shape in the crystal of the apatite.
Data processing is performed on reconstructive workstation HP Z820, with two eight core processors, 96 GB RAM and a pair of professional graphics cards.
Software for processing of the scanned data VGStudio MAX 2.2 is complemented by modules:
- Porosity/Inclusion Analysis – analysis of size and distribution of the pores and voids;
- Coordinate Measurement – advanced, local adaptive algorithm for precise surface determination with sub-voxel accuracy
- Actual/Nominal Comparisom – comparison of actual and design values;
- Wall Thickness Analysis – automatic localization of insufficient or excessive wall thickness and colour-coded visualization of analysis result
Professional 3D Printer ProJet® 660PRO inverts the digital model obtained on micro- CT to full colour plastic 3D object (e.g. crystal models for crystallography).
Contact person:


